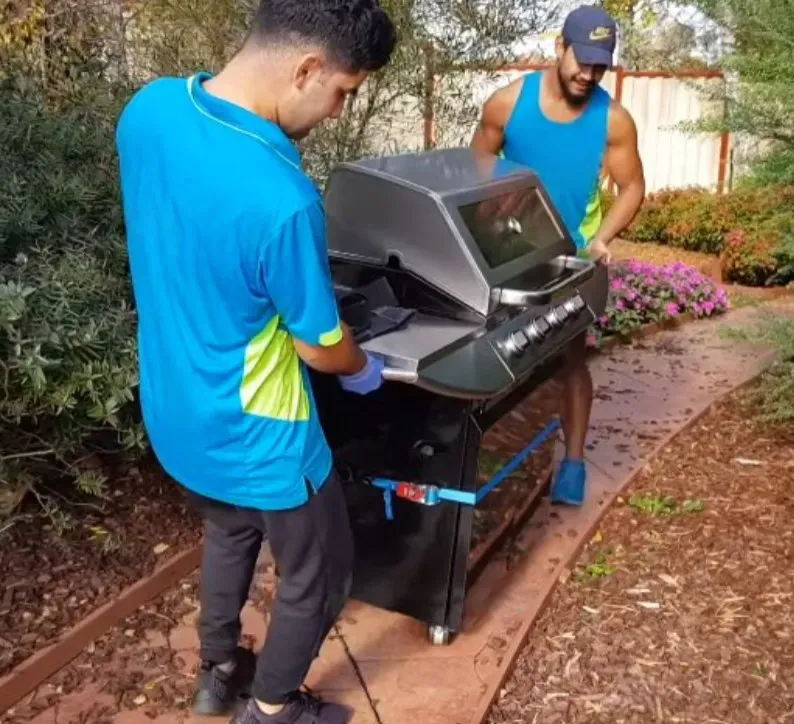
Grilling outdoors is always exciting, but moving a grill can be challenging. Proper preparation is essential to ensure your grill arrives at your new home in perfect condition. Whether transporting it across town or to another state, following the right steps will prevent damage and simplify the process. Here’s a complete guide to moving your grill the right way.
- Preparation: Clearing the Area and Disassembling
- 1. Prepare the Grill: Clean Thoroughly
- 2. Remove and Pack Loose Parts
- Relocating the Grill
- 1. Protect the Grill Body
- 2. Pack Smaller Components
- 3. Secure the Lid and Wheels
- Transporting the Grill
- 1. Choose the Right Vehicle
- 2. Position the Grill Correctly
- 3. Handle the Propane Tank Safely
- Tips for Moving Other Outdoor Equipment
- Quick Checklist: Moving a Grill
- Conclusion
Preparation: Clearing the Area and Disassembling
1. Prepare the Grill: Clean Thoroughly
Grills often contain grease and food stains, so cleaning them beforehand is crucial to prevent odors and mess during the move.
- Use wire brushes to scrub the grates and interior.
- Soak disassembled components in warm, soapy water.
- Allow all parts to dry thoroughly to avoid rust during transit.
2. Remove and Pack Loose Parts
- Gas Grills: Disconnect the propane tank and ensure it’s empty. Propane tanks are hazardous and cannot be transported in moving vans, so plan to carry it separately.
- Charcoal Grills: Empty the ash and clean the charcoal tray thoroughly.
- Disassemble smaller components like grates, burners, and trays, and pack them in sturdy boxes for safe transport.
Relocating the Grill
1. Protect the Grill Body
- Wrap the grill in blankets, moving pads, or bubble wrap to shield it from scratches and dents.
- Secure the wrapping with packing tape or bungee cords to keep it in place during transport.
2. Pack Smaller Components
- Pack detachable items like grates, knobs, and utensils in strong, labeled boxes.
- Use padding or crumpled paper around these items to prevent movement and damage.
3. Secure the Lid and Wheels
- Tape the grill lid closed to avoid it opening during transit.
- If the grill wheels are detachable, remove them and pack them separately. Otherwise, secure them with zip ties or bolts to prevent rolling.
Transporting the Grill
1. Choose the Right Vehicle
Grills are bulky, so ensure you have a vehicle with ample space. A truck or SUV with a flat surface at the back is ideal for transporting a grill.
2. Position the Grill Correctly
- Always transport the grill upright to maintain its stability.
- Secure the grill with straps or bungee cords to prevent tipping or sliding during the drive.
3. Handle the Propane Tank Safely
If moving a gas grill, transport the propane tank separately and upright. Never place it in a closed vehicle as it poses a serious safety hazard.
Tips for Moving Other Outdoor Equipment
- Use a Tarp: If moving in wet weather, cover the grill and other equipment with a tarp or protective cover.
- Take Photos: Photograph the grill before disassembling it to make reassembly easier.
- Inspect for Damage: Check the grill and components for any damage before reassembling.
Quick Checklist: Moving a Grill
| Task | Details |
|---|---|
| Scrub the grill | Remove grease and food residue; wash components. |
| Remove loose parts | Pack grates, burners, and knobs separately. |
| Wrap the grill body | Use moving blankets or bubble wrap for protection. |
| Secure lid and wheels | Tape lid closed; remove or secure wheels. |
| Transport safely | Keep upright; strap down securely. |
| Handle propane cylinders safely | Transport upright and separate from other items. |
Conclusion
Moving a grill may seem like a daunting task, but with proper cleaning, disassembly, and careful transport, it can be done efficiently and safely. Following these steps ensures your outdoor equipment arrives ready for its next barbecue. With the right preparation, your grill will make the move in great condition, saving you time and effort at your new home.

